

Production Decisions for Fashion Brands · Guide 3 / 6
Private Label T-Shirt Manufacturing: Fabric, Fit and Finishing Decisions
Develop private label T-shirts with clear fabric, fit and neckline specifications. Plan wash checks, decoration trials and approvals for bulk production.
9 min read
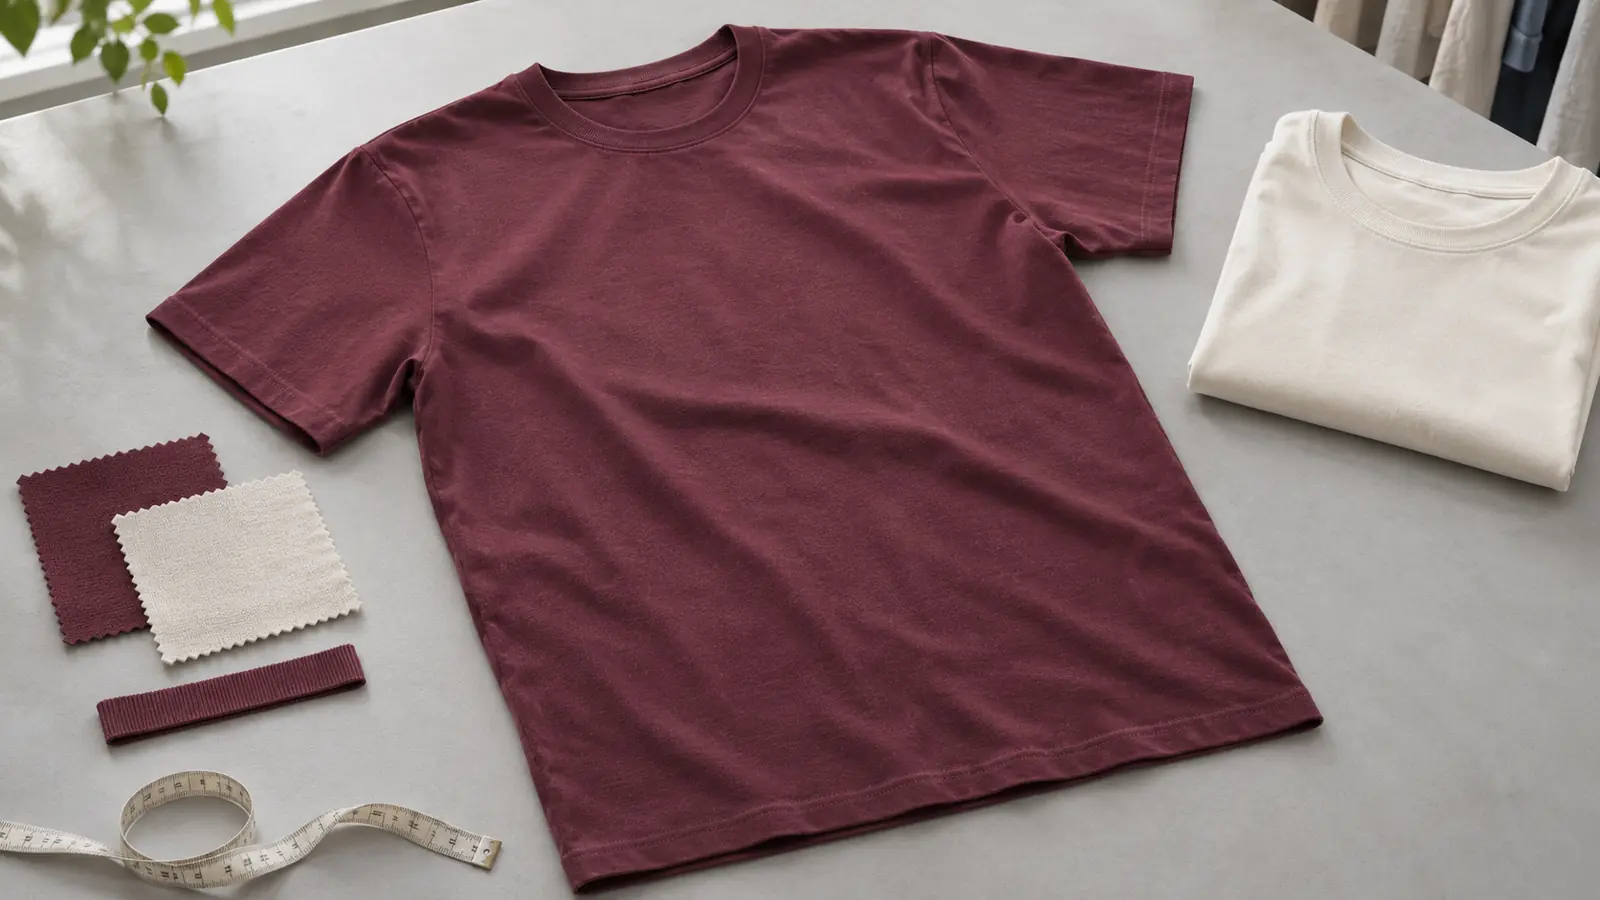
A T-shirt can meet the chest measurement and still feel wrong. The neck may sit too close, the sleeve may stand away from the arm, or the body may cling where the reference hangs straight.
Those differences are difficult to resolve with a brief that says only "100% cotton, 200 GSM, oversized". It names a composition, a weight and a broad fit direction. It does not yet describe the product.
For a brand developing private label T-shirts, the useful work is in connecting the fabric, proportions, neckline and finish. The result needs to work as a garment before a label or graphic makes it yours.
Decide whether you need a blank or a custom-developed T-shirt
An existing blank can be a sensible starting point when its fit and fabric already suit the collection. Check what can actually change: labels, decoration, packing and available colours may be flexible, while the pattern and base fabric remain fixed.
Custom cut-and-sew development starts from your product brief. It allows the fabric, body proportions, sleeve and neckline to be developed together. It also creates decisions that an existing blank has already settled. Discuss those decisions before comparing prices as if the two routes described the same work.
Tell the manufacturer which features are essential and which are open. If the reference neckline must stay but the body length needs to change, mark that. A manufacturer can develop a more useful first sample from one annotated reference than from several unranked pictures of different T-shirts.
Compare the fabric in the colour and condition you intend to sell
GSM is mass per square metre, not a quality grade. At the same weight, yarn choice, knit construction and finishing can produce different surfaces, drape and firmness. "Combed cotton" does not settle all of those characteristics either.
Start with what the garment must do. A soft layering tee, a compact boxy style and a close-fitting stretch tee need different fabric behaviour. Handle a sufficiently large piece to see how it hangs, not just how a small swatch feels between your fingers.
For a white or pale tee, assess coverage on the intended fit and against a contrasting background. A fabric that looks opaque in a folded stack can reveal more when stretched over the body. Check the actual light colour; a black sample is not a useful approval for white opacity.
Keep the fabric article, composition, agreed finished weight and finish with the approved swatch. Identify whether the sample has already been washed or softened. If a garment-dyed or washed-down appearance is planned, develop and assess that route rather than treating it as a colour change at the end.
Where surface texture matters, note whether you want a clean, even face or an intentionally irregular character. Examine both after the intended care trial. Initial softness and the appearance after laundering are separate parts of the decision.
Build the fit around the shoulder, sleeve and body together
For a T-shirt, small proportional changes are highly visible because there is little construction to hide them. A wider chest does not, on its own, create a balanced oversized fit.
Review the shoulder position, armhole depth, sleeve length and sleeve opening with the body width and length. A dropped shoulder changes where the sleeve begins. Keeping the old sleeve length can then put its opening somewhere you did not intend.
Define measurement points in the tech pack. State how body length is measured, where the chest is measured and whether a neck measurement refers to a straight width, depth or seam-line length. Two size charts can use the same heading for different measurements.
Try the sample with arms relaxed, then reach forward and lift them. Watch the underarm, neckline and hem. Decide whether the movement and amount of exposed skin match the product, rather than judging only a front photograph.
After approving the base size, check the size range. A larger size needs its own balance; extending every dimension by the same proportion is not a grading plan. If the range includes cropped and regular lengths, identify them as distinct product requirements.
For the supporting document, see our guide to building a tech pack manufacturers can work with.
Develop the neckband as part of the garment
The neckline is often the first place a plain tee looks unfinished. A band may ripple, stand upright, pull the surrounding fabric inward or become loose after wear.
Specify the opening shape, finished band depth, rib reference and attachment. Assess colour matching on the body and rib together. A black rib and black jersey can still differ visibly in shade, surface and response to washing.
There is no universal neckband percentage that resolves every fabric and neckline. The band length relative to the neckline seam, its stretch and recovery, and the way it is sewn need to be developed as a combination. A deeper band also changes the visual opening even if the underlying seam line stays the same.
Pull the sample on and off, wear it, and inspect the neck again. Then repeat the appearance review after the agreed care trial. A quick hand stretch of a loose rib strip is useful for comparison but does not approve the finished neckline.
Keep the back-neck tape, label position and seam bulk in the review. An attractive front view can conceal an uncomfortable label edge or a bulky join behind the neck.
Separate shrinkage, body twist and seam puckering
These defects can appear after the same wash, but they call for different investigations.
Length or width change concerns dimensions. A side seam moving towards the front or back concerns rotation of the garment. Ripples along a seam concern its local appearance. Recording all three as "shrinkage" gives the technical team too little information.
Research published in the Indian Journal of Fibre & Textile Research examines yarn twist and knit construction as factors in single-jersey spirality. That is a reason to review the fabric as well as cutting and assembly when a tee turns after washing, not to assume the side seam alone caused it.
Coats' seam-puckering bulletin identifies several possible contributors, including feeding, sewing tension and differences between components. A wavy hem or neck attachment therefore needs diagnosis before the pattern or thread is changed.
Retain the unwashed reference and record the sample's condition before the trial. Afterward, photograph the garment laid naturally without pulling a turned seam straight for the picture. A report should distinguish the measurements from the appearance findings.
Agree the care conditions, cycles, remeasurement preparation and acceptance criteria for the actual product. AATCC publishes TM150 for garment dimensional change and separately lists TM207 for seam twist in its standards catalogue. Choose the appropriate methods with the testing provider; public listings are not full procedures, and a single universal percentage is not a complete approval.
Test the actual artwork on the actual jersey
A print trial on another fabric can establish a colour direction, but not the whole result on your tee. Send artwork at the intended size, with the fabric colour and placement, while the garment is being developed.
For a large print, consider how the printed area bends and feels against the rest of the body. A broad graphic can make a lightweight front feel much firmer. On a close-fitting tee, review the decoration during normal movement as well as laid flat.
For embroidery, examine the backing and reverse against the skin, the stiffness of the decorated area and distortion around the design. A small chest logo still needs a trial on the selected jersey. Approve the visible result and comfort, not just the embroidery file.
Keep the process sequence clear: fabric finish, cutting, sewing, decoration and any garment treatment. Changing that sequence can change what the sample represents. Review print condition, embroidery appearance, placement and the garment itself after the agreed care checks.
When the size range changes substantially, decide how the artwork is placed across sizes. A fixed distance down from the neck does not automatically give the same visual balance on every length and body shape.
Include the less visible details in the approval
Turn the tee inside out and inspect shoulder joins, underarms, sleeve hems and the bottom hem. Check seam extension where movement requires it, visible needle damage, bulky intersections and unfinished ends. A neat flat seam should also work when the garment is worn.
Review label materials and attachment together with the fit sample. Include care and composition information appropriate to the product and destination market, with the final wording checked for the applicable requirements. A tear-away label or transfer should be assessed in its actual application rather than assumed comfortable.
For a repeatable order, keep the approved body fabric, rib, thread, labels and decoration references in the bill of materials. Record any provisional sample components that must be replaced, so they do not become accidental bulk specifications.
Hand over an approved product, not a collection of messages
Before bulk production, bring the approved garment, measurement chart, fabric and rib references, artwork, trim list and care-test findings into one identified revision. Mark what is accepted and what still needs correction.
If a fabric, rib or finish changes after approval, assess which checks need repeating. A similar-looking substitute can affect the neck, body dimensions or decoration result. Keep physical references for the agreed colour and hand feel rather than relying on phone photographs alone.
Discuss the first production review before the order starts. Check that the output represents the approved material and construction, then follow the agreed size, colour and quality checks through the order. Our guide to moving from an approved sample into bulk production covers that handover in more detail.
What to send for a T-shirt production review
An initial request is easier to assess when it includes:
- Existing blank or custom cut-and-sew development, with annotated references
- Intended wearer, fit direction, sizes and key measurements
- Fabric composition, weight direction, colour and physical reference where available
- Neck shape, band depth, rib and other construction details
- Artwork, decoration dimensions and placement
- Label, care, packing and buyer-specific test requirements
- Quantities by style, colour and size, target market and delivery window
State what is confirmed and where you want development input. Quantities split across several colours and styles are different from one total against a single product. For the commercial planning behind the request, see costing, minimums and production timelines.
Develop your T-shirt collection with All In Denim
All In Denim manufactures apparel in Türkiye for international fashion brands and develops samples in-house. For a private label T-shirt collection, we can review your references, fabric direction, fit, neckline and artwork as one product-development brief.
Explore our knitwear and jersey manufacturing and private label production, or send your T-shirt project details. Include the decisions you want to settle in sampling as well as the intended quantities.
Technical references
Related services
Related Manufacturing Services
Explore the All In Denim services most closely connected to this guide.
Knitwear Manufacturing
Explore T-shirt, hoodie and jersey manufacturing, from fabric weight and rib details to sample approval.
Ready-to-Wear & Private Label
Explore clothing development and manufacturing with your brand labels, care information and retail packaging.
Quality Control & Compliance
See how approvals, measurements, inspections, packaging and documentation are coordinated.
Ready to discuss your product?
Send your product brief, tech pack, reference images, estimated quantities, target market, and timeline for an initial production review.